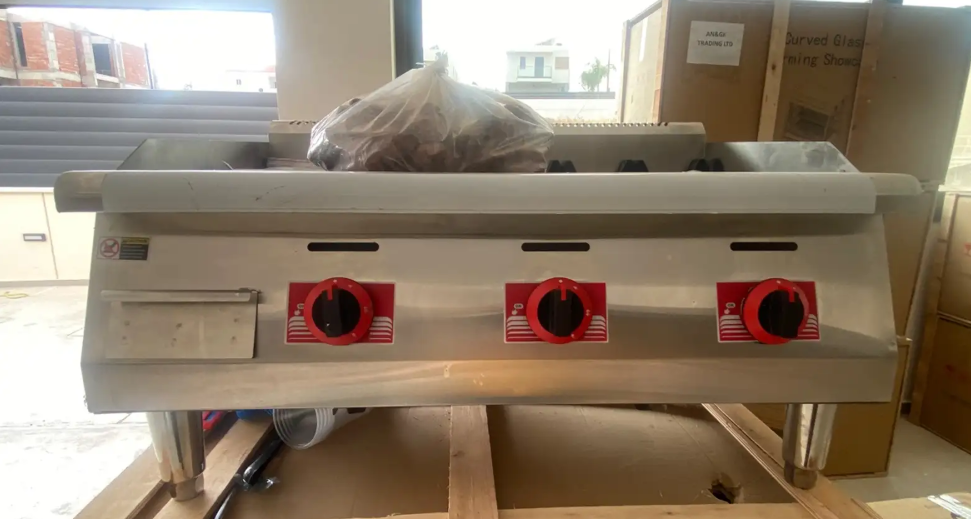
🔥 Professional 3-Burner Gas Grill – Countertop Gas Grill
Power: 13.5 kW
Fuel: LPG / Natural gas / Oil-based gas
Dimensions: 900 × 660 × 480 mm
Number of burners: 3 (independent with thermocouples and safety valves)
Construction material: High-quality stainless steel
⸻
⚙️ Technical specifications
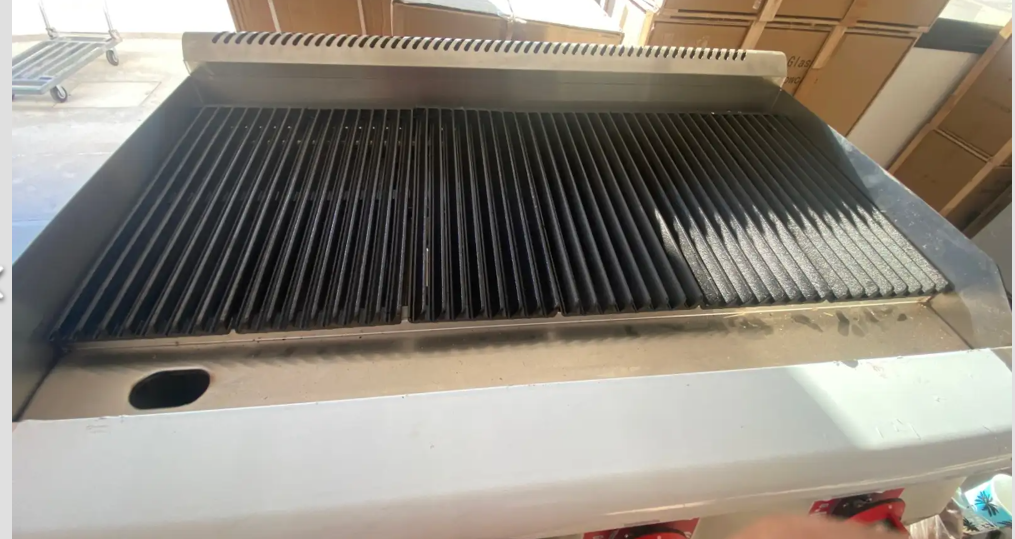
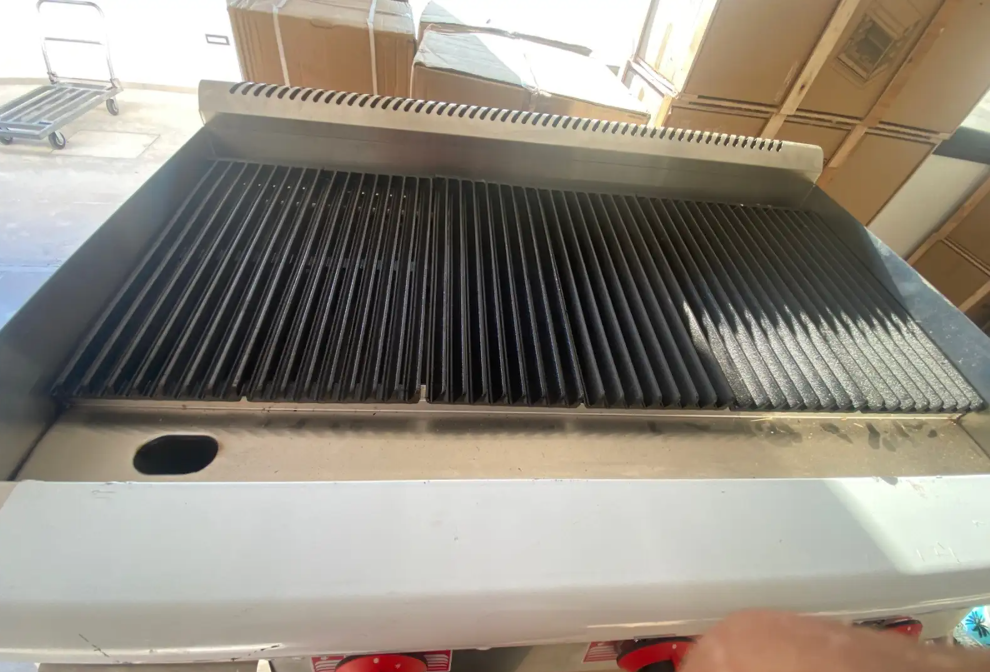
• Special heavy-duty cast iron grate, removable for easy cleaning.
• Independent flame control for each burner – allows for different temperatures in each cooking zone.
• Piezoelectric ignition system with safety thermocouples to prevent gas leaks.
• Powerful flame for fast cooking and even heat distribution.
• Adjustable burners with nozzles for LPG or natural gas.
• Removable stainless steel grease collection tray.
• Adjustable legs for stability on the work surface.
• Suitable for commercial kitchens, taverns, grills, cafeterias, and hotels.
⸻
🧽 Cleaning & Maintenance
• Clean the appliance regularly using a cloth dampened with kerosene or a special stainless steel cleaner.
• Do not use a pressure washer or chemicals that may cause corrosion.
• Remove the grates and lids for full access to the burners.
• Store in a dry, well-ventilated area when not in use.
⸻
🧾 Certification & Warranty
• CE Certification
• Manufacturer’s warranty: 6 months
• Comes with a manual and quality certificate
⸻
💡 Advantages
✅ Durable construction for professional use
✅ Easy cleaning & maintenance
✅ Ideal performance with low gas consumption
✅ Non-stick cooking surface
✅ Fast and safe operation
🔥 How the professional gas grill works
⚙️ 1️⃣ Gas connection
• Connect the appliance with an LPG hose to the cylinder or gas line.
• Depending on the gas you’ll be using:
• For LPG: 0.92 mm nozzle
• For natural gas (NG): 1.19 mm nozzle
(The nozzles can be easily changed if needed.)
• Always check for leaks using soapy water (never with a flame!).
⸻
🔘 2️⃣ Ignition (Start-up)
1. Open the valve on the gas cylinder or gas line.
2. Press and turn the red switch for the burner you want to light to the “ON” or “IGNITION” position.
3. You will hear a click—this is the piezoelectric ignition system, which lights the burner.
4. Hold the switch down for 3–5 seconds to activate the safety thermostat, then release it.
If it doesn’t ignite on the first try, wait 5 seconds and try again.
⸻
🔥 3️⃣ Heat Control
• Each burner has its own switch—you can adjust the temperature separately (low, medium, high).
• The cast-iron grates on top distribute heat evenly, just like charcoal.
• The flame should be blue—if it turns yellow, it indicates an air or pressure adjustment issue.
⸻
🍖 4️⃣ During cooking
• Place the meat or vegetables on the grill.
• Fat drips into the drip tray, which is easy to clean.
• The heat is direct and intense, ideal for steaks, skewers, burgers, chicken, fish, etc.
⸻
🧯 5️⃣ Shutdown and Safety
1. Turn all switches to the OFF position.
2. Turn off the gas supply (at the cylinder or the line).
3. Let the grill cool down.
4. Remove and clean the grates, drip tray, and burners if necessary.
⸻
🧽 6️⃣ Cleaning
• Do not use a pressure washer or chemicals—clean with a cloth and stainless steel cleaner.
• The grates can be removed and washed separately.
• The grease collection tray must be cleaned after each use.
⸻
⚠️ Important tips
• Always use the appliance in a well-ventilated area.
• Do not block the gas vent holes.
• If the flame does not ignite after 2–3 attempts, turn off the gas and wait 1 minute before trying again.
• If you smell gas → do not light anything, turn off the gas supply, and ventilate the area
For more information’s Contact 99272833